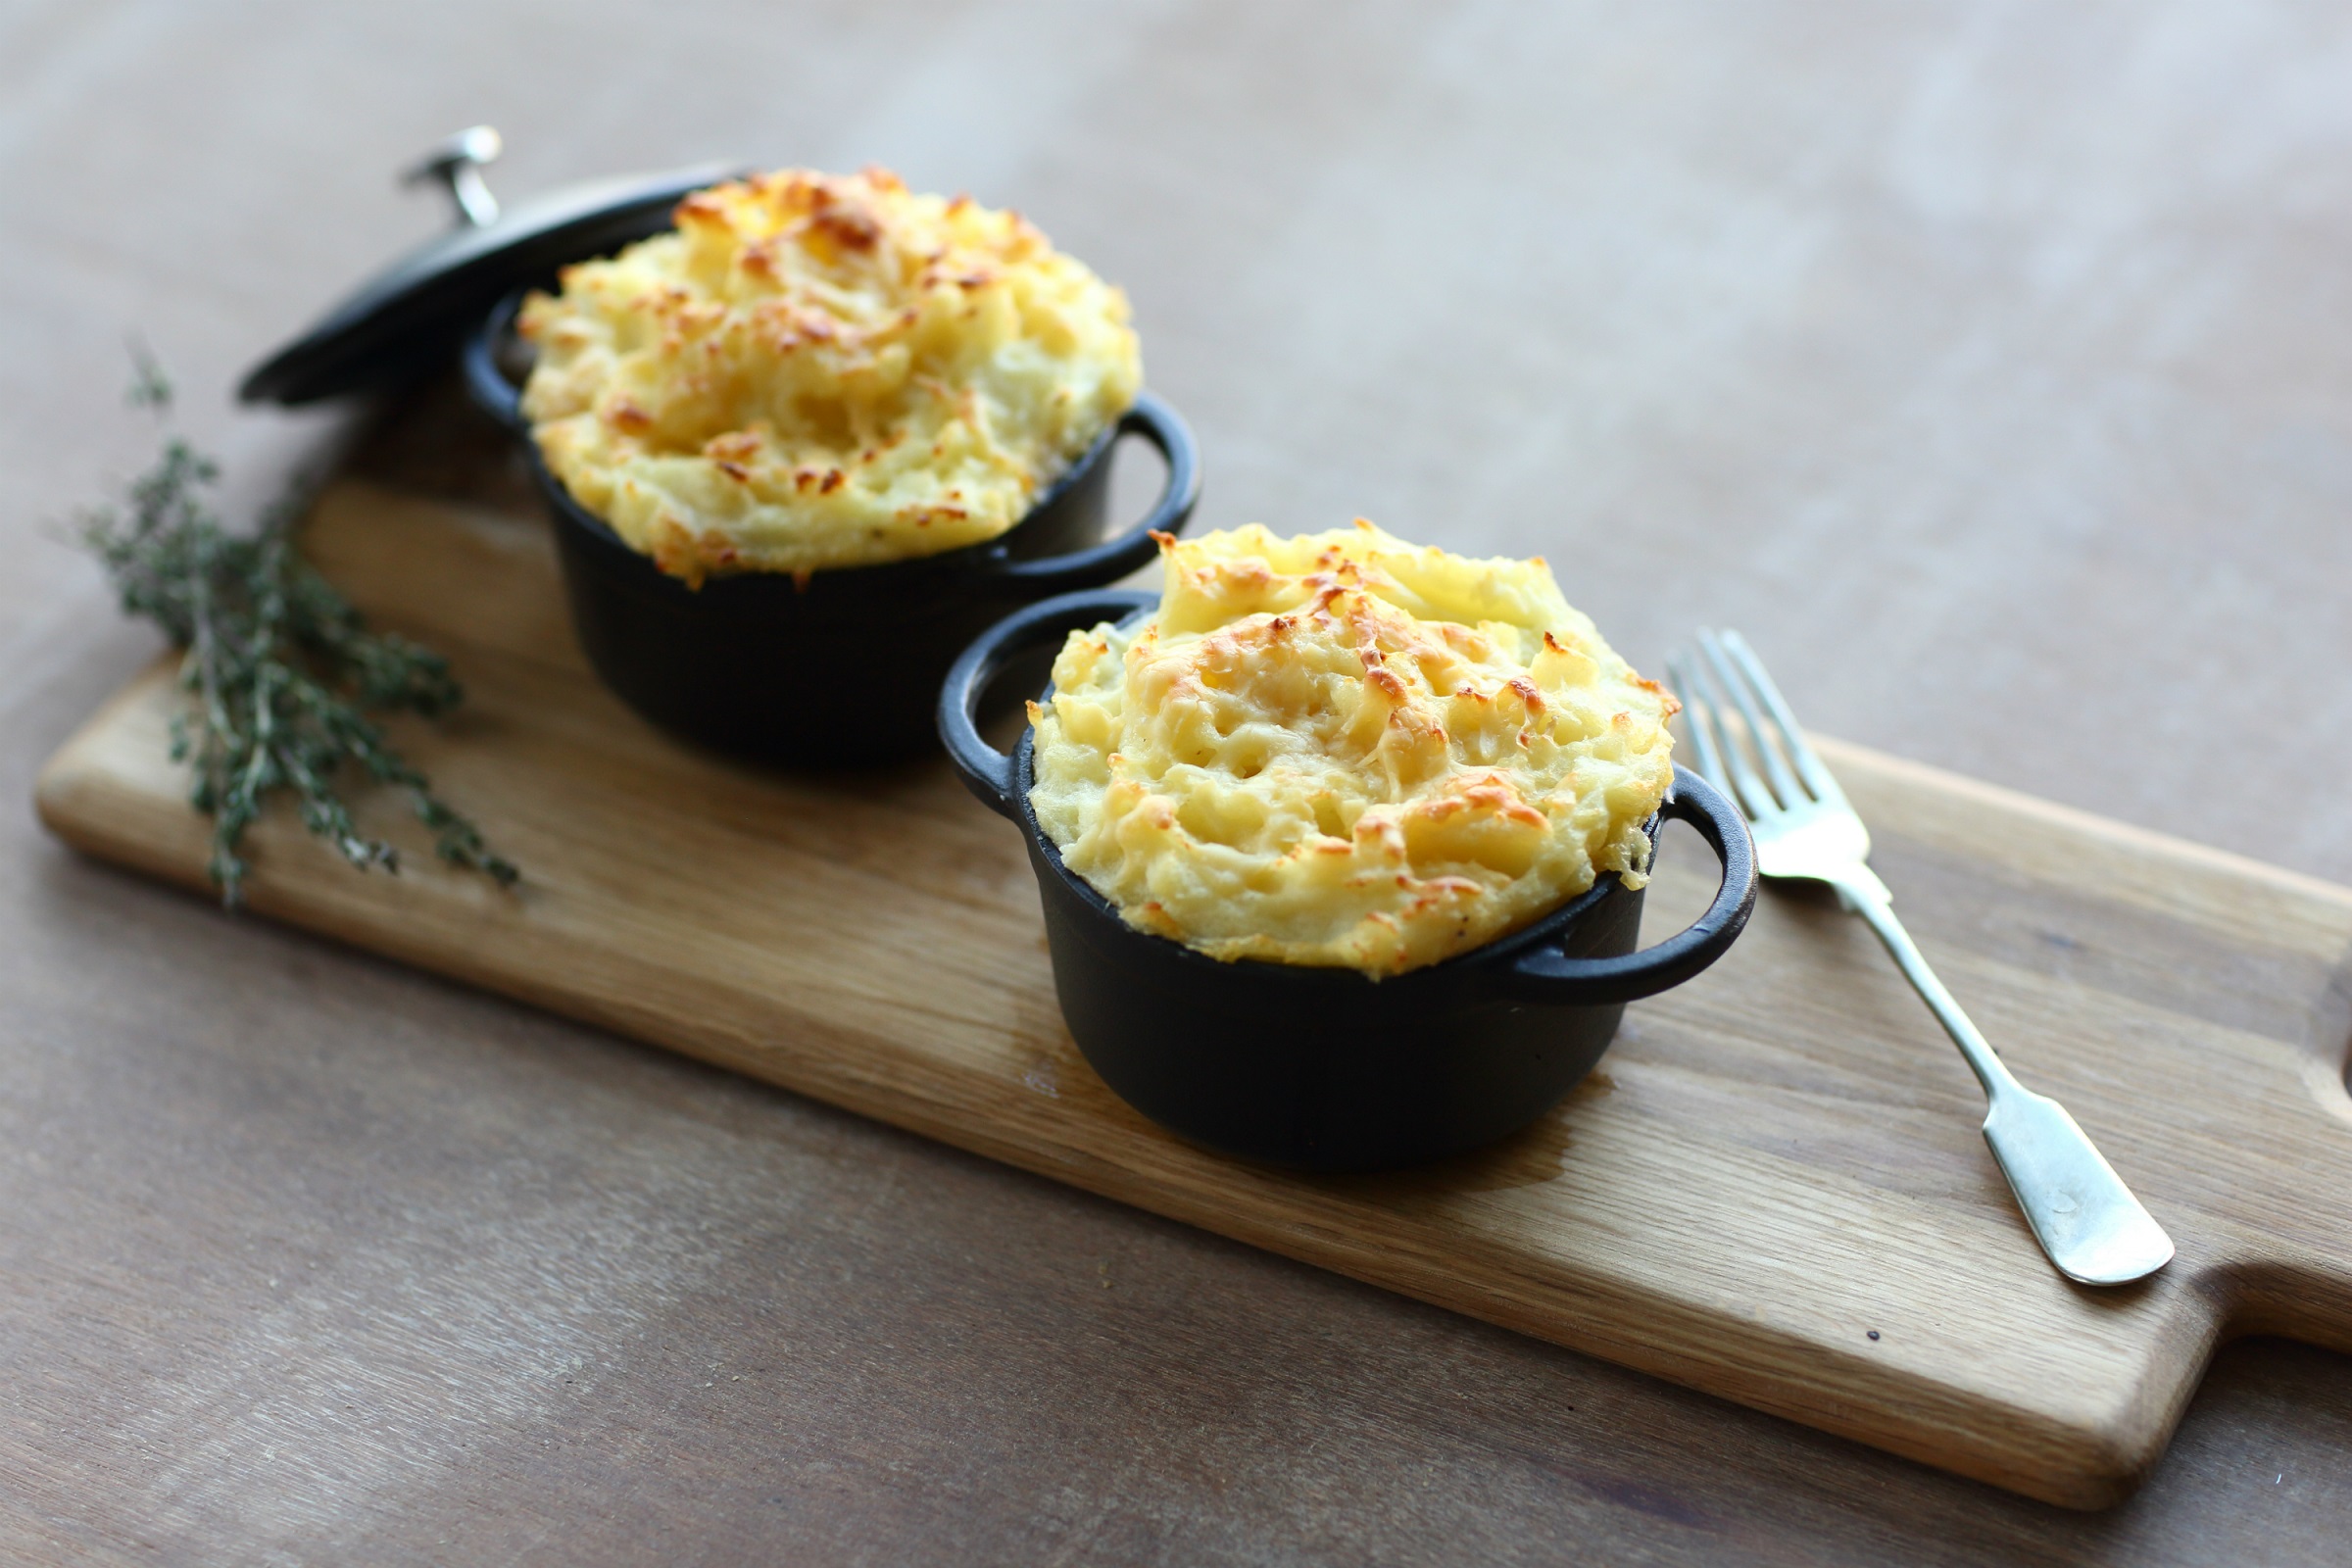
Honey-glazed Mallard, Confit Leg, Turnips, Cavolo Nero by Paul Welburn
Comments Off on Honey-glazed Mallard, Confit Leg, Turnips, Cavolo Nero by Paul WelburnMichelin starred Chef Paul Welburn is at the top of his ‘game’ with this recipe for honey-glazed mallard & confit leg. A more complex recipe, the mallard is first pan fried, then roasted to perfection in the oven, and finally topped with a rich honey, star anise and juniper glaze. Served alongside baby turnips and cavolo nero this really is a superb dish that would suit a dinner for two or would be an impressive main served at a smaller dinner party with friends.
This is another recipe in our series celebrating all things game this autumn in connection with Great British Chefs.

Serves: 3
Time: 3 hours 30 minutes
Equipment
- Knife
- Chopping board
- Blender
- Dish for the duck to cure in
- 35cm Stainless Steel Roasting Pan
- 20cm Stainless Steel Saucepan
- 24cm Stainless Steel Sauté Pan
- 24cm Stainless Steel Non-Stick Frying Pan
- 14cm Stainless Steel Milkpan
- Cooking thermometer
- Fine sieve
- Potato ricer or masher
- Pastry brush
Ingredients
Mallard Duck
- 2 whole mallard ducks, legs removed and crown trimmed
- 2 sprigs of thyme
- 1/2 garlic bulb, split
- vegetable oil
- butter
- salt
- pepper
Curing Salt
- 50g of coarse sea salt
- 1 star anise
- 1 juniper berry
- 1 slice of orange peel
- 1 sprig of thyme
- 5 black peppercorns
Duck Sauce
- 1kg mallard duck bones, or use regular duck bones if unavailable
- 3 shallots, peeled and sliced
- 1 carrot, peeled and chopped
- 1 garlic clove, sliced
- 1 juniper berry, crushed
- 3 peppercorns, crushed
- 1 sprig of thyme, small
- 1 tbsp of red wine vinegar
- 175ml of red wine
- 125ml of port
- 500ml of dark chicken stock
- 1 dash of oil
To confit the duck legs
- 500g of duck fat, melted
- 1 sprig of thyme
- 1/2 garlic bulb, split
Mashed Potato
- 800g of floury potatoes
- 200g of cream
- 200g of butter
- salt
- pepper
Baby turnips
- 1 bunch of baby turnips, trimmed and washed
- 200g of water
- 200g of butter
Honey glaze
- 100ml of honey
- 25ml of sherry vinegar
- 2 juniper berries
- 2 star anise
Cavolo nero
- 400g of cavolo nero, hard stems removed
- salt
- pepper
To serve
- thyme leaves
- flaky sea salt
Cooking Method
- To begin, prepare the mallard legs. Add the curing salt ingredients to a blender and blitz together until well-combined. Cover the mallard legs in the salt mix in a dish and set aside in the fridge for 1 hour.
- Preheat the oven to 190°C/gas mark 5.
- While the legs are curing, start the sauce. Spread the bones out on a roasting pan and roast in the oven for 20 minutes, or until golden.
- Add a dash of oil to a saucepan over a medium heat. Once hot, add the shallots and carrots and cook until tender and golden. Add the garlic, spices and herbs, then deglaze the pan with the vinegar, scraping the base of the pan to remove any residue.
- Add the wine and port and reduce by half. Add the roasted bones and stock and simmer for 25–30 minutes.
- Rinse the salt from the mallard legs and pat dry. Add the legs to a saucepan fitted with a cooking thermometer, add the thyme and garlic and pour over the melted duck fat, ensuring the legs are completely covered. Place over a low heat and steadily confit at 85°C for 2 hours. Do not allow the temperature to go above 85°C, or the meat will start to fry and toughen.
- Preheat the oven to 180°C/gas mark 4.
- Place the potatoes for the mash on a baking tray and cook in the oven until completely tender inside.
- Meanwhile, pass the sauce through a fine sieve into a clean pan and reduce over a medium-high heat until it reaches the desired consistency. Season to taste and set aside.
- When the mallard legs are ready, carefully drain from the fat. Twist the thigh bone out of the leg, leaving the drumstick bone in place. Set aside.
- Now cook the turnips. Add the water to a pan, bring to a simmer then whisk in the butter. Add the turnips and cook until tender, for approximately 20 minutes.
- To make the honey glaze, add all the ingredients to a small saucepan and bring to the boil over a high heat. Reduce the liquid by one third and set aside.
- When ready to cook the duck crowns, heat a dash of oil in a large frying pan. Season the crowns, inside and out, and place the crowns in the pan breast-side down. Caramelise all over the breasts until golden, draining any excess fat as it renders.
- Once nicely golden, add a large knob of butter, garlic and thyme, basting the birds in the foaming butter.
- Sit the crowns up, fill the cavities with a little extra thyme and the garlic from the pan, and place in the oven with the potatoes for 8 minutes, basting every 2 minutes. Remove from the oven and allow to rest for 10 minutes.

- Remove the potatoes from the oven and scoop out the flesh. Heat the cream and butter in a pan to melt together. Pass the potato flesh through a potato ricer (or use a masher to mash) and beat in the cream and butter. Season to taste and set aside.
- To cook the cavolo nero, drain some of the butter emulsion from the turnips and heat in a pan. Add the cavolo nero, cook until wilted then drain. Season and set aside ready to plate.
- When ready to serve, make sure all the elements are nice and hot. Arrange the turnips and cavolo nero in the base of a serving tray and place the mallard crowns on top. Brush the crowns with the spiced glaze and sprinkle over thyme leaves and flaky sea salt. Arrange the crispy confit legs around the crowns, brushing with a little more glaze.
- Carve at the table, serving with the with the sauce and mashed potato on the side.
In association with

Recipe courtesy of www.greatbritishchefs.com