ProWare’s Christmas Gift Guide
Leave a CommentChristmas is a time of culinary delight! From homemade mince pies and family Christmas cake recipes to the mouth-watering smell of roast turkey, there’s no denying that Christmas is the foodie gift that keeps on giving. With all this cooking going on, we’ve put together ProWare’s Chrismas Gift Guide to help you treat the foodies in your life.
Introducing our newest pan our stainless steel tri-ply Chef’s Pan
A ProWare Kitchen Stainless Steel Tri-Ply Chef’s Pan makes a fantastic Christmas gift for anyone who loves to cook—or wants to start! With its durable tri-ply construction, this pan ensures even heat distribution for precise cooking, whether sautéing, simmering, or searing. Its sleek stainless steel finish adds a touch of professional style to any kitchen, while the versatile design works on all hobs, including induction. A high-quality chef’s pan like this elevates everyday meals and inspires culinary creativity, making it a thoughtful, long-lasting gift that shows you care about both flavor and function.
RRP: £78.00 Buy here

Stainless Steel Tri-Ply Roaster

If you’re anything like us, Christmas reminds you how much you love your roaster. So why not treat a foodie loved one to the same joy?
Brad Carter, Chef/Owner at Michelin-starred Carters of Moseley loves using our roaster at home on Sundays… if that isn’t enough of an endorsement, we don’t know what is!
RRP: from £82.00 Buy here


Hand-Crafted Chopping Boards
Craftsmanship is key in cooking, and at ProWare Kitchen, we blend art with functionality, knowing that great tools are essential for great cooking. This Christmas, our hand-crafted chopping boards, made by Robert, our ProWare co-founder would make any home cooks day. These beautiful, practical boards are the perfect gift for the food enthusiast in your life, showcasing Robert’s skill and enhancing the cooking experience. Each board is unique, so don’t delay, because when they’re gone, they’re gone!
RRP: From £200 Buy here


ProWare’s Christmas Gift Guide to Mini Cookware
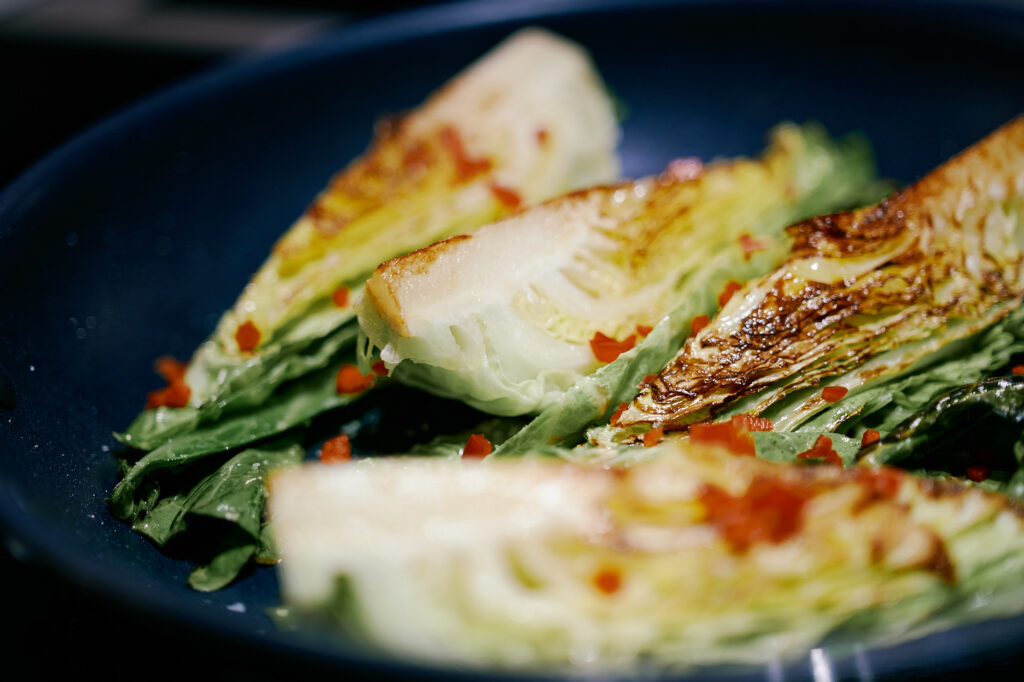
A firm favourite with Michelin-starred chefs, our mini saucepans, frying pans and casserole dishes are really versatile and a key feature of ProWare’s Chrismas Gift Guide.
They’re perfect for cooking and serving: cooking jus, sauces, delicate veg, and serving soups, sides, and individual portions. They’re showstoppers in professional kitchens so why shouldn’t they be showstoppers in yours, or your loved one’s?

RRP: individual items from £21.00
Shop for them here.
Large gift sets
Set of 6

All our ranges come in larger sets. Copper Tri-Ply (pictured), Copper Base, and Stainless Steel Tri-Ply come in sets of 6 and Stainless Steel Base in a set of 5.
These fantastic sets are the perfect bundle for setting up any home or professional chef for success. They all include 3x saucepans (16cm, 18cm, 20cm), and a 14cm milk pan and are completed by a variation of non-stick frying pans, stockpots, or saute pans.
RRP: from £208.00 Buy here
Set of 3

Within each of our four ranges we offer a set of 16cm, 18cm, and 20cm saucepans. Our sets of 3 give you a saucepan for every occasion.
We have designed the handles specifically so that the pans nest within each other for stylish and efficient storage
If you’re not sure which range is right for you, check out what we love about each of them here.
RRP: from £135.00 Buy here
Mini pan gift sets
Check out our mini gift sets, both coming with a beautiful ProWare tote bag so there’s something for every budget.
Mini Stainless Steel tri-ply gift set

The small gift set comes with two induction-compatible 9cm mini stainless steel tri-ply pans plus a ProWare tote bag. They would make the perfect little gift for any cooking enthusiast.
RRP £48.00 Buy here
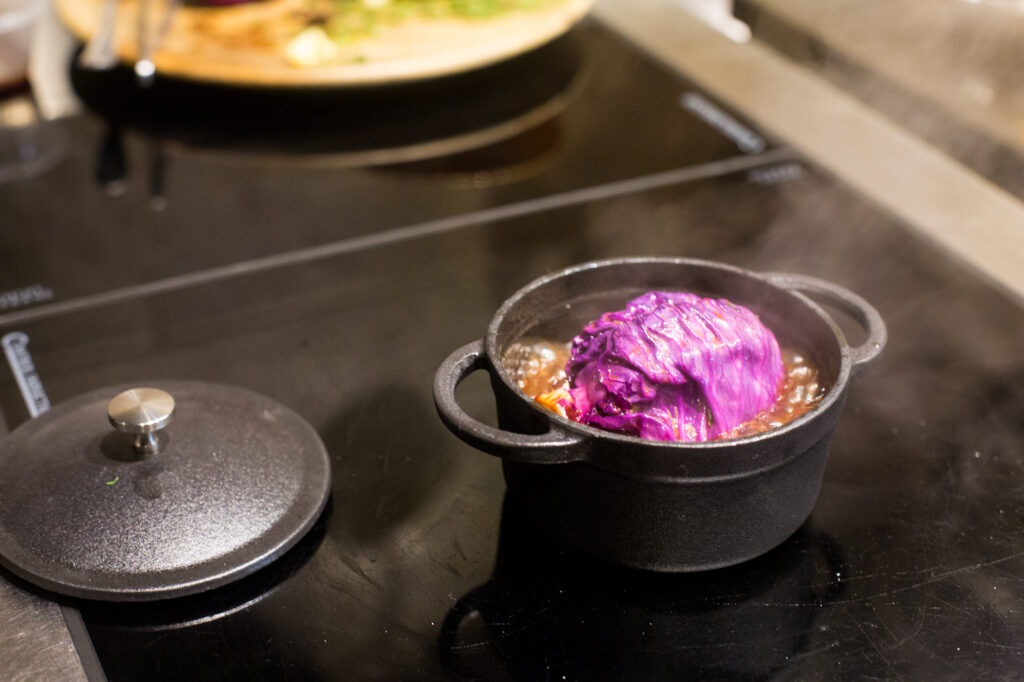
Cast-iron casserole gift set

These stylish and versatile mini casseroles are crafted from hard-wearing cast iron, suitable for all hobs types. They are perfect for making individual portions of oven baked dishes. Also comes with ProWare tote bag.
RRP: £42.00 Buy here
Whether you’re shopping for a passionate home chef or someone just starting their culinary journey, ProWare Kitchen has the ideal gift to make their Christmas truly memorable.
And with that, happy shopping!