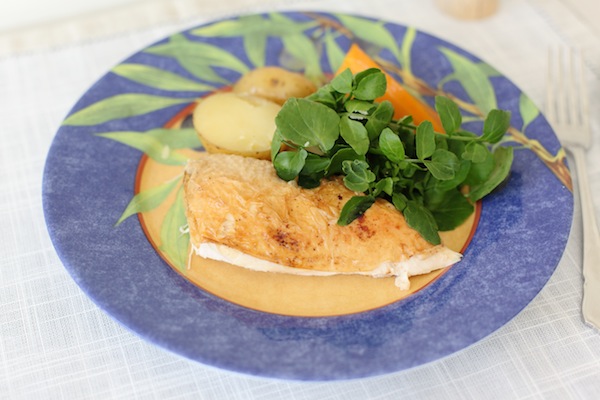
Texas Inspired Hog Roast
Comments Off on Texas Inspired Hog RoastIf you’ve ever had good BBQ or smoked meat, you know there is nothing else like it. In 2012 my husband and I along with some of our friends travelled to Texas for our close friend’s wedding and the people, the heat and most of all the food did not disappoint. When in Texas, one must eat as a Texan and that is what we did. Our host and hostess planned many ‘Americazing’ food venues for us to visit including one BBQ restaurant, The Salt Lick, which featured in the TV show Man V Food. Here we tasted scrumptious brisket, succulent sausages and finger lickin’ ribs which has seemed to fuel our obsession with smoked food since returning to the UK.

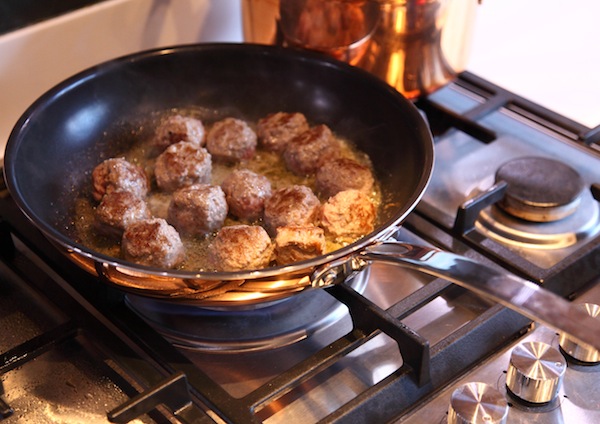
We have done brisket (our favourite) many times now, pork chops and salmon, but my husband being ever keen for something bigger and better decided he wanted to slow roast half a pig. We’ve done it twice now, once in April and then again in August for a large family reunion, both of which were roaring successes. We also referred to Project Pig in Manchester for guidance & instruction which proved very helpful. The next plan of action is to attempt spit roasting a lamb.
Written by Corin
Serves: 40+
Prep time: 2 hours
Cooking time: 14-17 hours
Building the Pit
We used breeze blocks to construct the pit and made a wooden frame which we later wrapped in aluminium foil and used wire to attached various oven shelves to. The frame fit in the pit so we could rest the pig on this while cooking and also remove it more easily when it had finished cooking. Another option is to get wire racking to cook the pig on, however it’s important to make sure this wire is food safe and okay to cook with.
Scoring the Skin
We used a Stanley knife to score the skin side of the pig as you would for a typical pork roast, in intervals of 2cm, being careful not to penetrate the fat through to the meat layer.
Salt
After scoring the skin we massaged salt into the exterior of the pig on both sides starting with the rib side first using Maldon Sea Salt. The smoked Maldon Sea Salt is preferable; however we just used what we had. Be very generous with the salt (we must have gone through over a box of the sea salt) and then leave the salt to sit for a half an hour. This will dry out the moisture in the skin and hopefully lead to yummy crackling.
Olive Oil
After letting the salt sit for half an hour brush it off and cover the whole pig in a generous amount of olive oil.
Dry Rub
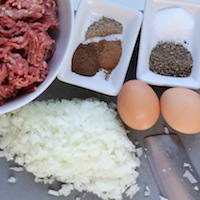
Then massage in the dry rub. Any homemade or store bought spice/herb mix will do. Ours had cayenne pepper, garlic powder, onion powder, paprika, black pepper and tarragon.
Meat Injections
We injected the meat with a mixture of apple, white grape, and lots of sugar and salt. Quantities wise, we used approximately 2 cups of apple juice, 2 cups of white grape juice and 3 heaping dessert spoons of sugar and salt. Using a meat injector, we used something similar to this, to inject the meat with juice in various different places.
Aluminium Foil
Next was to wrap the pig in aluminium foil and transfer it (requiring at least 2 people) to the pit. Make sure the pig is wrapped securely. The juice injected in the pig will enable the meat to slowly steam and become very, very tender.

Timings and Temperatures
We roasted the pig for a total of 16 hours(Starting at around 9pm and finishing the following day around 1pm) It’s helpful to use a meat thermometer to check the internal temperature, which should reach at least 66°C and no more than 69°C. About 3 hours before serving we unwrapped the foil from the pig and flipped it so it was skin side down on the grates. Then 1 hour before eating we flipped it back over to heat the other side and raked the coals under the pig to lower the heat. We then removed the pig from the roasting pit and wrapped it loosely with the aluminum foil and let it rest for 30 minutes before eating.
Fire
We used store-bought hardwood charcoal (it’s even better if you can make your own!) mixed with wood to get it going. We used a small fire pit to one side of the large roasting pit to prepare the charcoal. The fire should be fuelled about every hour to hour and a half. Throughout the night we took it in shifts to get up, build a new fire and wait for the charcoals to become red. Once we unwrapped the pig we added a few hickory wood lumps/briquettes (not charcoal) when refueling the fire which adds a smokey flavour. These are easily available online.

Apple Sauce and BBQ Sauce
We made a simple Bramley apple sauce and BBQ sauce for people to add to their meat. There are lots of different recipes online so you can choose one to your liking. Check out the BBQ sauce here and applesauce here.