
Caramelised Sesame Peanuts
I don’t know if you’re like me, but I have a basket of packages of half used seeds, nuts, dried fruit and grains in my cupboard, some of which have been there for so long it’s slightly embarrassing! It is very good though if you are making your own granola as you can throw in pretty much anything and it still tastes great.
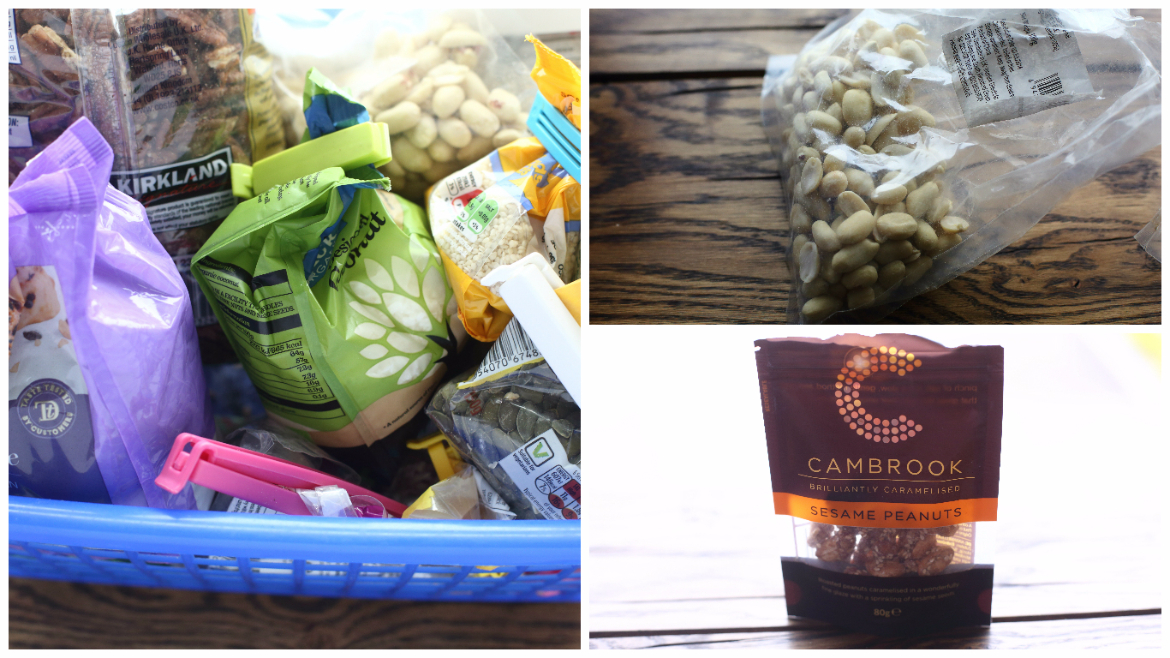
The other day my husband came home from the supermarket with these Caramelised Sesame Peanuts which were so moreish it made me upset because the package was way too tiny, a measly 80g! I looked at the ingredients and thought ‘I can make these’. In fact, I could make them that very moment thanks to my lovely basket of miscellaneous packages and that’s what I did. I had some raw unsalted peanuts which I bought ages ago to use as a topping for homemade Pad Thai, which were begging to be used. The result was really similar, I would say that the store bought version is slightly sweeter, but I prefer to err on the side of making things healthier if I can so I am happy with the result. Also, the store bought version had honey on the ingredients list, but I swapped this for a mix of maple syrup and coconut sugar.
Feel free to experiment with whatever nuts and seeds you have lurking in your cupboards and I hope you enjoy!
Written by Corin

Makes: 300g
Prep time: 2 minutes
Cooking time: 20 minutes
Ingredients
- 300g unsalted raw/plain peanuts
- 1-2 tablespoons sesame seeds
- 2 tablespoons maple syrup (substitute honey)
- 65g coconut sugar (substitute white or brown sugar)
- Half a teaspoon of crushed or fine sea salt (I used vanilla flavoured sea salt)
Equipment
Cooking Method
- Preheat oven to 170°C.
- Place the peanuts in a bowl, add in all other ingredients and mix well.
- Line baking tray with silicone mat or grease proof paper and pour nuts onto tray. Spread the nuts out as much as you can.
- Bake in oven for 10 minutes, stirring at this point, then for a further 10 minutes keeping an eye on them to make sure they don’t burn. Remove from oven, let cool slightly if you can and enjoy!
